Blog
Depending on who you ask, PXE booting is either a legacy technology or a critical part of modern datacenter operations. For many, it’s a way to boot systems over the network without needing local storage. For others, it’s a relic of the past, replaced by cloud-native workflows and containerization. Why bother with PXE when you can create a custom image, upload it, and boot directly?
However, why not have both? There are still plenty of organizations that have existing PXE workflows and who wish to continue using them, especially in hybrid environments where some workloads remain on-premises. Another good use case is for recovery, debugging, and testing - where having a network boot option can save time and effort over creating and uploading custom images for every scenario.
In this post, we’re going to be working with an Oxide rack as our infrastructure, but the concepts apply to any datacenter environment that supports UEFI booting and allows you to upload custom disk images. We will be using netboot.xyz to provide a flexible PXE boot menu, and we’ll build a custom iPXE disk image that can be used to boot an Oxide instance and then chainload via HTTP to the netboot.xyz menu.
Why do this?
netboot.xyz is one of the best tools around for bootstrapping systems over the network. It’s got installers, live environments, utilities, and it supports all the things you want from a PXE menu. It provides a consistent interface and a wide range of options, from operating system installers to recovery tools. It’s also open source under the Apache 2.0 license, so you can customize it to your needs.
You can use the official netboot.xyz PXE server to boot your systems over the network, or you can self-host it. The latter is a great option if you want to customize the menu, add your own tools, have a local copy for testing, or are operating in an environment without internet access.
Running netboot.xyz locally
The documentation section on self-hosting netboot.xyz provides a good overview of how to set up your own server. You have two main options - deploy the official netboot.xyz server using Docker and your webserver of choice, use the provided ansible playbook to set up a server on a Linux host.
For this guide, we’ll use the ansible playbook, as it is easier to setup since it handles all the dependencies and configures the apache2 web server for you. The steps are straightforward:
- Clone the netboot.xyz repository:
git clone https://github.com/netbootxyz/netboot.xyz.git /opt/netboot.xyz - Ensure you have installed the require dependencies (this is the debian/ubuntu command, adjust for your distro):
sudo apt install -y ansible git apache2 - Update the
user_overrides.ymlfile to your needs. This file allows you to customize the server configuration, such as the hostname, port, and other settings. You can find it in/opt/netboot.xyz/ansible/group_vars/all/user_overrides.yml. For example:You can also setnetbootxyz_hostname: "your-server" netbootxyz_port: 80netbootxyz_custom_menuto point to your own custom menu file if you have one. - Run the ansible playbook to set up the server:Note: You can also run the playbook with
cd /opt/netboot.xyz ansible-playbook -i inventory/hosts playbooks/selfhost.yml--checkto see what it will do without actually making any changes. - This will take a few minutes to complete, and it will install the necessary packages, configure the web server, and
populate
/var/www/html/netboot.xyzwith the netboot.xyz files. Once it’s done, you should be able to access the netboot.xyz menu athttp://your-server/netboot.xyzin your web browser.
NOTE: This process will install netboot.xyz over http on port 80. If you want to use HTTPS, you will need to perform a few additional steps to set up a TLS certificate and configure the web server to use it.
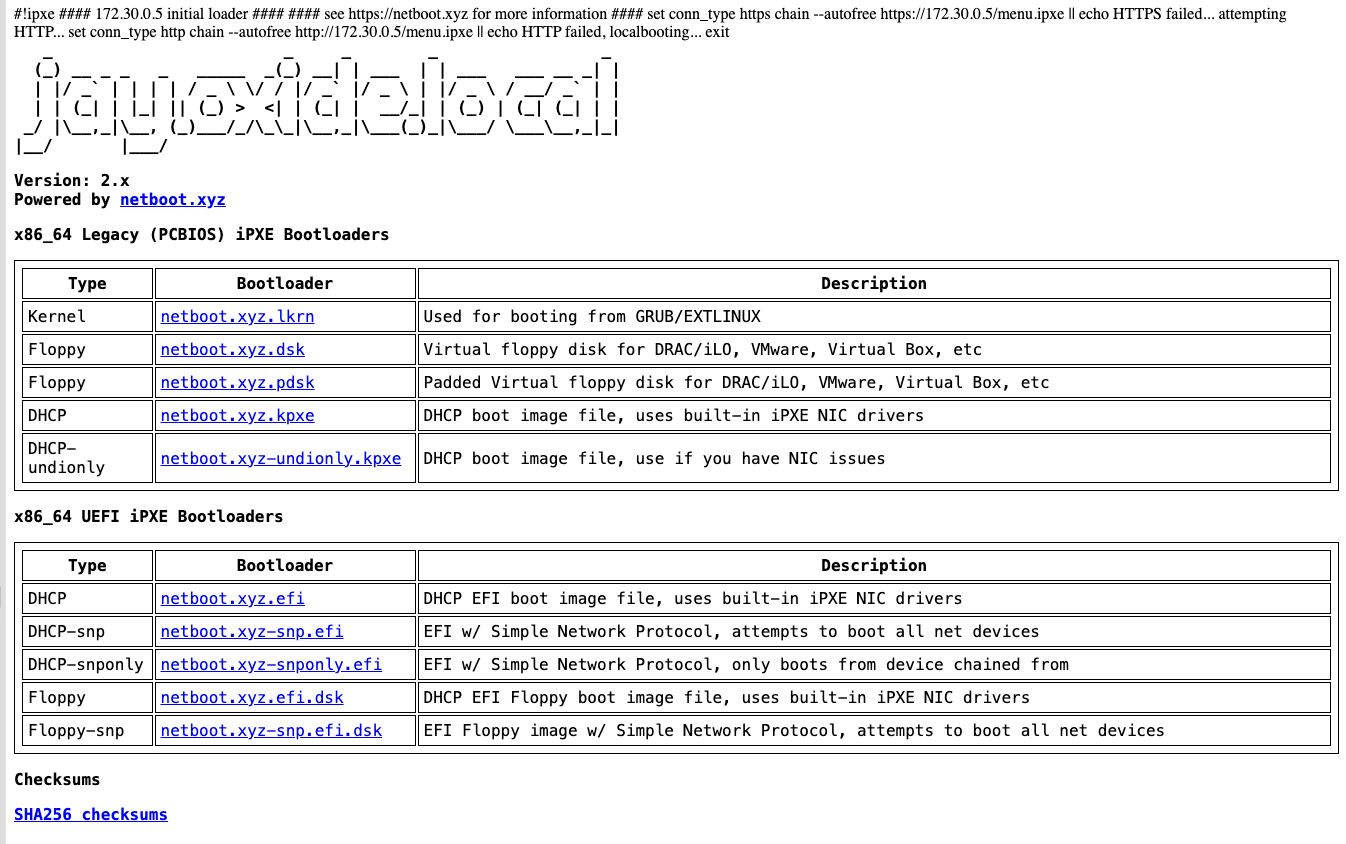
Testing the netboot.xyz server
You can test your netboot.xyz server by navigating to http://your-server/netboot.xyz in your web browser. You should
see something similar to the following:
Building an iPXE disk image
To boot using netboot.xyz, we need to create a custom iPXE image with the iPXE binary and an embedded script that tells iPXE to chainload the netboot.xyz menu. Note that Oxide expects a raw disk image for booting, so we’ll create a UEFI-compatible iPXE binary and wrap it in a FAT-formatted disk image. If you are using a different platform, you may need to adjust the steps accordingly.
NOTE: If you are planning on using HTTPS for your netboot.xyz server, you will need to ensure that the iPXE binary is built with HTTPS support. This is typically enabled by default, but you can check the iPXE documentation for more details on how to build iPXE with HTTPS support.
We will be overriding the default iPXE build process to create a UEFI-compatible binary that can be used with Oxide. Additionally, we will be explicitly passing version numbers to avoid issues with Git-derived version macros, which can cause problems (you can read more about this in the iPXE documentation).
Clone the iPXE repository:
git clone https://github.com/ipxe/ipxe.gitChange into theiPXE directory:
cd ipxeCreate an embedded iPXE script that will be run when the iPXE binary boots. This script will handle DHCP, check for an IP address, and chainload the netboot.xyz menu. Create a file named
embed.ipxewith the following content:#!ipxe echo "===> Embedded iPXE script running" sleep 2 dhcp isset ${ip} || goto no_ip echo "===> Got IP: ${ip} via ${net0/mac}" echo "===> Attempting to chain to http://your-server/menu.ipxe" sleep 2 chain http://your-server/menu.ipxe || goto fail exit :no_ip echo "===> No IP address acquired" shell :fail echo "===> Failed to chain to netboot.xyz" shellNow we need to build the iPXE binary. First, ensure you have the necessary build tools installed. On Debian/Ubuntu, you can run:
sudo apt install -y build-essential liblzma-devNext, we need to build the iPXE binary with the embedded script. Run the following command to create a UEFI-compatible iPXE binary:
cd ipxe/src
make bin-x86_64-efi/ipxe.efi EMBED=embed.ipxe NO_GIT=1 VERSION_MAJOR=1 VERSION_MINOR=21 VERSION_PATCH=1
Create a FAT-formatted image and drop the iPXE binary into the right EFI path:
mkdir -p bootimg/EFI/BOOT
cp bin-x86_64-efi/ipxe.efi bootimg/EFI/BOOT/BOOTX64.EFI
mkfs.vfat -C ipxe.img 65536
mcopy -i ipxe.img -s bootimg/* ::
This gives you a bootable .img file you can upload to the Oxide rack.
If you want to automate the entire build process, we’ve provided a script that does everything: validates dependencies, pulls the iPXE repo, creates the embedded script, builds the binary, and generates the final image.
===> View the full build-ipxe-image.sh script on GitHub
Importing and using the image on Oxide
Upload the image; you can either use the Oxide CLI or the web interface. If you’re using the CLI, you can run:
oxide disk import --project your-project --path ipxe.img --description "iPXE boot image" --disk ipxe-local
Then create an instance using this disk as the boot volume; once you start the instance, it will boot from the iPXE
image, which will run the embedded script. The script will attempt to acquire an IP address via DHCP and then chainload
from http://your-server/menu.ipxe. If it succeeds, you will see the iPXE menu with options to boot into a variety of
operating systems and tools. Note that if you are using a self-hosted netboot.xyz server, the available options will
reflect the contents of your menu.ipxe file and any customizations you have made.
Your local menu
Your menu.ipxe can mirror the upstream netboot.xyz one, or be fully custom. You can also use your local server to
chain to the official netboot.xyz site if you want to test both local and remote options. Note that this can be a bit
fiddly, as signature verification can cause issues (see the set sigs_enabled false directive). But, if you are able
to manage that you can create a menu like this:
item local Boot from local netboot.xyz
item official Chain to official netboot.xyz

:local
chain http://your-server/menu.ipxe

:official
chain https://boot.netboot.xyz
What it looks like in action
Here is an asciinema recording of the entire process, from booting the Oxide instance to starting the Alpine Linux instance using the netboot.xyz menu. In addition to the image below, you can also view the recording on my Asciinema server at [this link](agg https://acinema.virington.com/a/12) .

Troubleshooting
If you run into issues, here are a few things to check:
- Ensure that the iPXE binary is built correctly and that the embedded script is present.
- Check that the netboot.xyz server is running and accessible from the Oxide instance you are booting. If you are booting inside a VPC, make sure that you are using the internal IP address of the server.
- If you are using a netboot.xyz server in a different VPC or subnet, ensure that the necessary firewall rules are in place to allow traffic between the Oxide instance and the netboot.xyz server.
- If you are using HTTPS, ensure that the iPXE binary is built with HTTPS support and that the server has a valid TLS.
- If you are using the official netboot.xyz server, ensure that the URL is correct and that the server is reachable from the Oxide instance.
Wrapping up
This guide has walked you through the process of setting up a local netboot.xyz server and creating a custom iPXE image that can be used to boot an Oxide instance. By using iPXE, you can provide a flexible way to boot and install operating systems and tools using the network. This approach can be particularly useful for testing, debugging, and recovery scenarios, as it allows you to quickly boot into a known environment without needing to create and upload custom disk images for every situation.
What’s next?
If you want to take this further, consider:
- Automating the deployment and management of the netboot.xyz server by adding in terraform or extending the Ansible playbook.
- Creating custom iPXE scripts to automate specific workflows or boot into specialized environments.
- Integrating the netboot.xyz server with your existing infrastructure, such as using it to deploy operating systems
- Using this approach to boot systems in other environments, such as VMware, Proxmox, or bare metal servers.
- Using Hashicorp Packer to automate the creation of custom disk images that include the iPXE binary and any additional tools or configurations you need.
- Extending the iPXE build to include options to self-configure over DHCP and TFTP, allowing for dynamic configuration of the boot environment based on the network it is connected to.